You shot Apple Log on your iPhone. Now what?
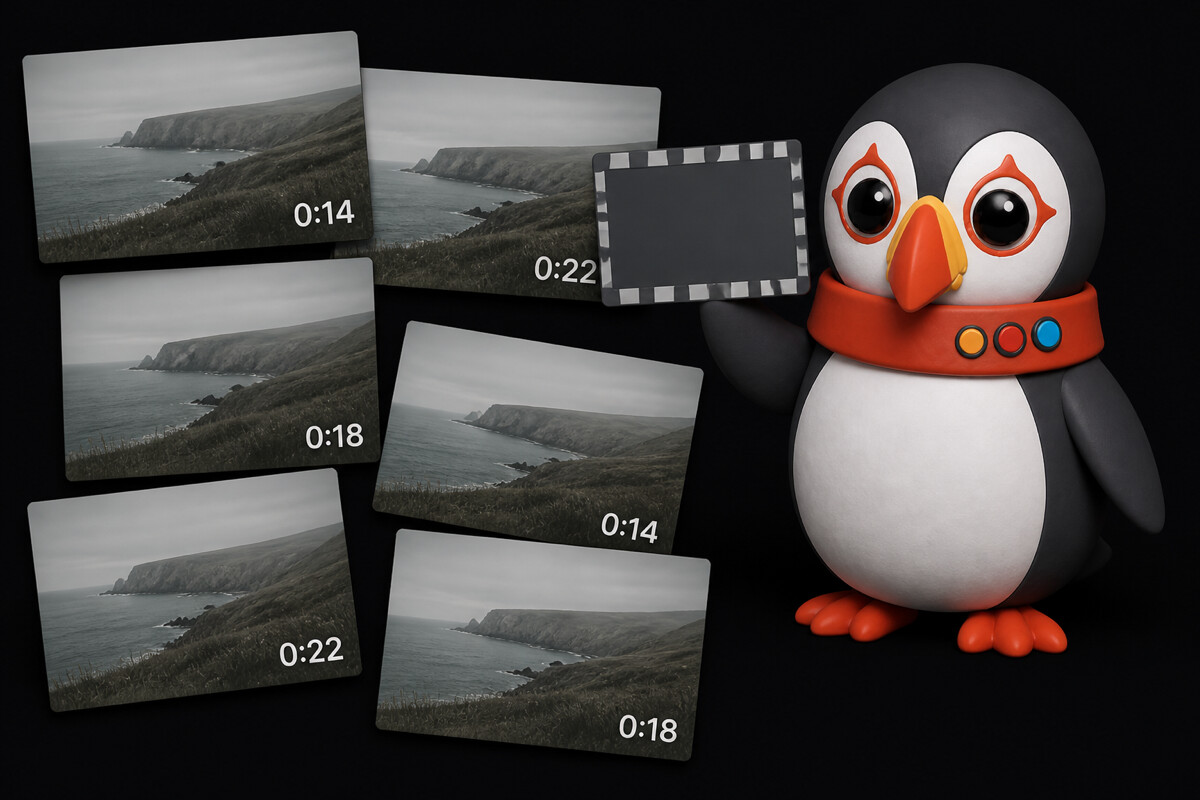
Log encoding arrived on the iPhone 15 Pro in 2023, and Apple Log 2 followed on the 17 Pro. The explainer videos did numbers most camera channels never see — the big ones are sitting at half a million views each, and new ones keep coming out.
Which means a very large number of people now shoot Log who have never owned a cinema camera. Or any camera.
Those videos are good. They're also nearly all the same shape: here's the setting, here's why it's worth it, go shoot. What happens after you stop recording is somebody else's video, and mostly that one hasn't been made.
Yes, it's meant to look like that
First reaction is usually that something broke. The clips come back grey, milky, washed out — like a photo left in a window for ten years. That's correct. Log is a way of keeping more of the bright and dark parts of a scene in the file, and the price is that the picture arrives without its contrast. You put that back later.
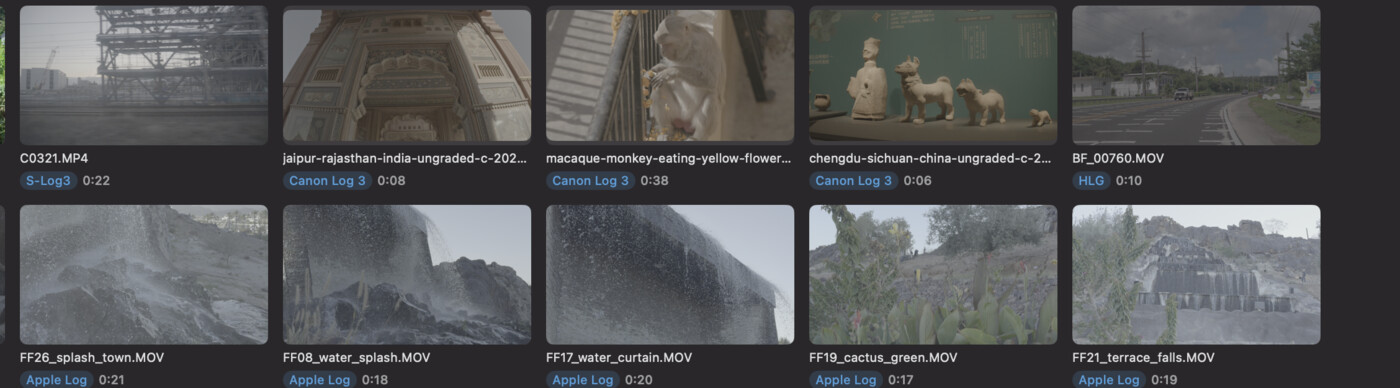
On one clip, this is a non-issue. You drop it on a timeline, apply the conversion, and there's your picture.
The trouble starts somewhere around clip forty.
The advice you'll find was written for camera owners
Ask how to deal with a folder of Log clips anywhere people edit video, and a familiar answer comes back within a few replies: install the manufacturer's utility.
It's genuinely good advice. Sony's Catalyst Browse is free and will happily show you a Sony clip the way it was meant to look; the other brands ship something in the same spirit. If you own that camera, download it.
But every version of that answer assumes you bought into a camera brand.
You didn't. Your camera is the phone in your pocket. Apple's own answer to Log lives inside Final Cut Pro, which detects the format on import and applies the conversion for you — good, and several steps too late. It's an editor, and a paid one, for the job of looking through a card. The advice collapses into "open it in your editor" — the thing you were hoping to avoid doing several hundred times.
Launching an editor to look at footage
Think about what you actually want to do the evening after a shoot. Not grade. Not cut. You want to look: which takes held focus, which one had the better expression, which forty of these two hundred are worth keeping at all.
That's a browsing job. Doing it in an editing app means starting a project you'll throw away, importing, waiting, and then scrolling through a bin — all so the picture on screen isn't grey. It works. It's just an enormous amount of machinery to answer "is this one any good."
And the answer degrades badly with volume, which is the whole problem with phones: they make it effortless to come home with two hundred clips.
Then you buy a camera
Here's the part that catches people out. Phone Log shooters are exactly the people who add a mirrorless a year later — that's the natural next step, and often the reason they got interested in Log in the first place.
Now one folder holds Apple Log from the phone, S-Log3 or V-Log or Canon Log from the camera, and a handful of ordinary clips from the times you forgot to switch the profile back. Three different conversions are needed. Every clip looks equally grey. The file names are all IMG-something and DSC-something.
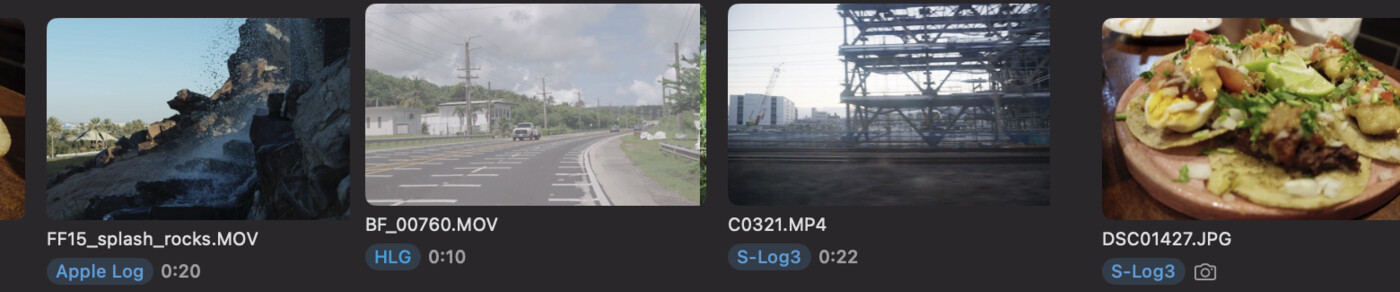
The manufacturer-utility answer doesn't just get inconvenient here — it stops applying. You'd need two of them, and neither one reads the other's files.
What the missing step actually looks like
This is the gap Divecut is built for: the bit between the memory card and the timeline, where you're just trying to see what you've got.
You point it at a folder. Every clip carries a badge saying what it is — Apple Log, S-Log3, V-Log, HLG, Rec.709 — read out of the file rather than guessed from the picture. For iPhone footage there's nothing to configure: Apple labels its Log clips properly, and Divecut reads the label.
More to the point, the grid isn't the grey version. Each clip is drawn with the conversion for its own format already applied, so a phone clip and a camera clip sitting next to each other both look like themselves, at the same time, on the same screen. That happens for display only — your files are never modified, and nothing is written next to them.
With that in place the pile stops being a pile. You can rate and reject straight from the keyboard, and when you can't remember which clip was which, you can search for them in plain words — "sunset", "person on a bridge" — because the app has already looked at them for you, on your machine, with nothing uploaded anywhere.
And the Log survives the handoff
The last part matters more than it sounds. When you send your selects to DaVinci Resolve, the original files go across untouched — still Log, with nothing baked into them. Divecut groups the clips on the timeline by what they were shot in and puts the matching conversion above them as a colour setting you can adjust, replace or throw away entirely.
So your grade starts from the file the camera made, not from something that has already been converted once on the way in. That's the reason to shoot Log at all, and it would be a strange thing to spend on the trip from the card to the timeline.
The tutorial wasn't wrong
Turning Log on was the right call. The step nobody covered isn't a colour science problem and it won't be solved by a better LUT — it's a filing problem. You have a folder of clips that all look the same, several of them are worth something, and the only tool anyone has pointed you at is a full editor.
What you needed was a way to see what you shot.
Divecut is a footage browser for macOS and iPad. It shows Log clips in the colour you shot them for, lets you search them in plain words, and hands your selects to DaVinci Resolve with the Log intact. See everything it does.